

Odoo Authorize.net Module

 by bista-admin
- Aug 12, 2016
- 0
- Category: Odoo Authorise .Net, Odoo Partners UAE
Key feature of Odoo -Authorize.net. Here is a step-by-step briefing on how this can be achieved
First of all
To Configure Authorize.Net API in Odoo
-
Go to Settings.
-
Authorize.Net under General Setting.
-
Click on Create.
-
Enter the API Login Id.
-
Enter the Transaction Key.
-
Select the Environment as Test or Production.
-
Enter the Server URL.
-
Click on Save.
-
Get Profile IDS:- If we click on this option it will fetch the details of the Customer present in Odoo and Authorize.net through email id and create the Customer Profile and Payment Profile.
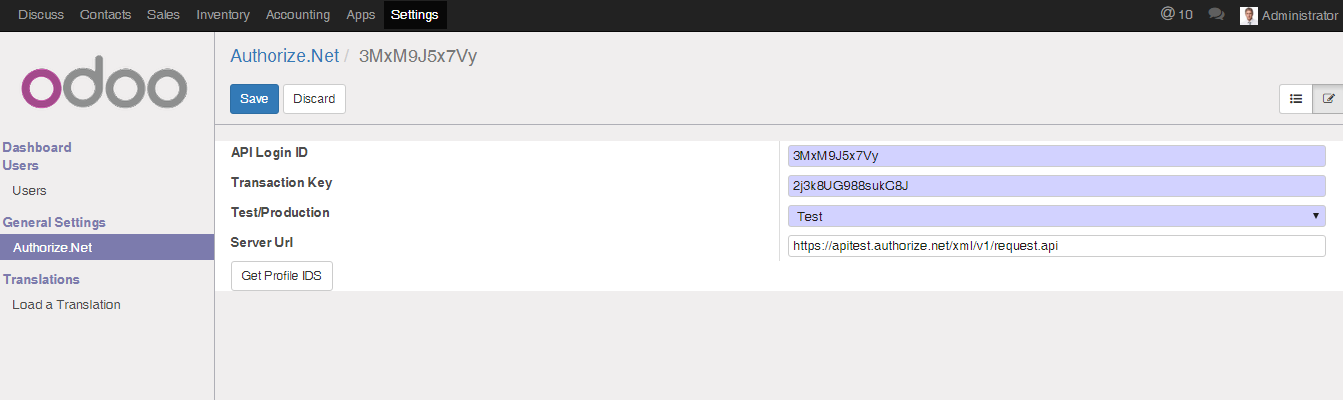
#1: To Configure Authorize.Net API in Odoo
Next, we will look into
How To Create a Customer Profile in Odoo.
-
Click on Sales Module.
-
Click on Customers and select the Customer for whom you want to create the customer Profile.
-
Now click on the Customer Profile Tab inside.
-
Click on Create Customer Profile. (A dialogue box will open, select the Billing contact and click on Create Customer Profile).
-
Customer Profile Id is created.
-
Now click on Register Payment Profile and fill in all the necessary details shown on this page & click on Register Payment Profile.
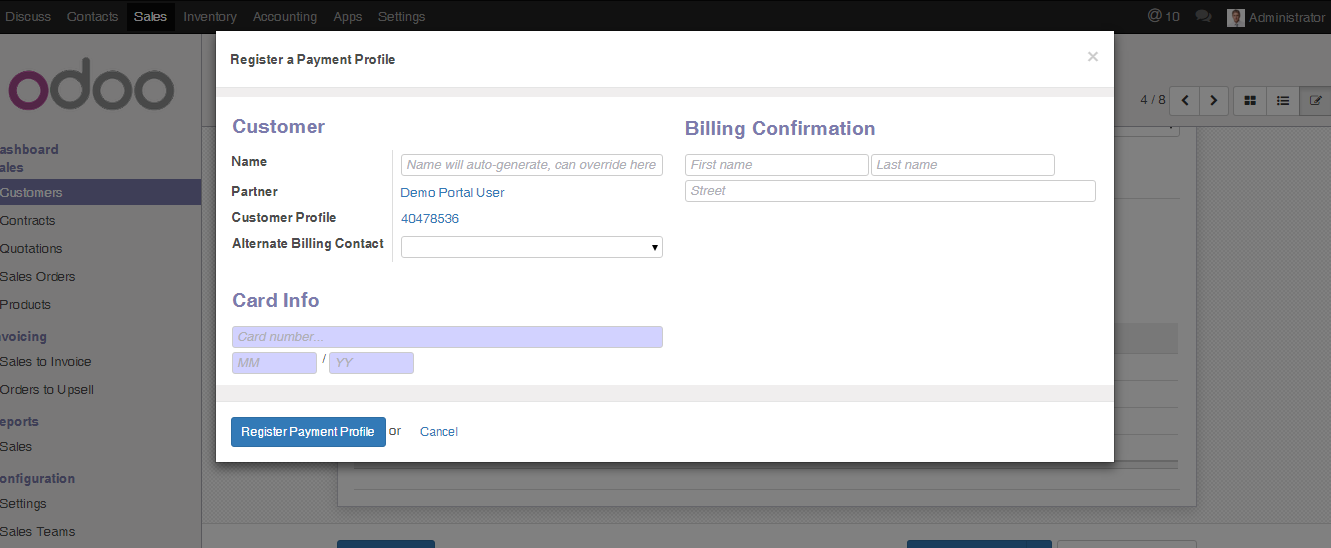
#2: To Create a Customer Profile in Odoo
Now let’s see
How To Use Authorize.Net in Sales Orders in Odoo.
Here are the steps
-
Click on Sales Module.
-
Click on Sales Order under Sales Option.
-
Click on Create.
-
Enter all the necessary details like Customer name, Order Date, add product, &, etc.
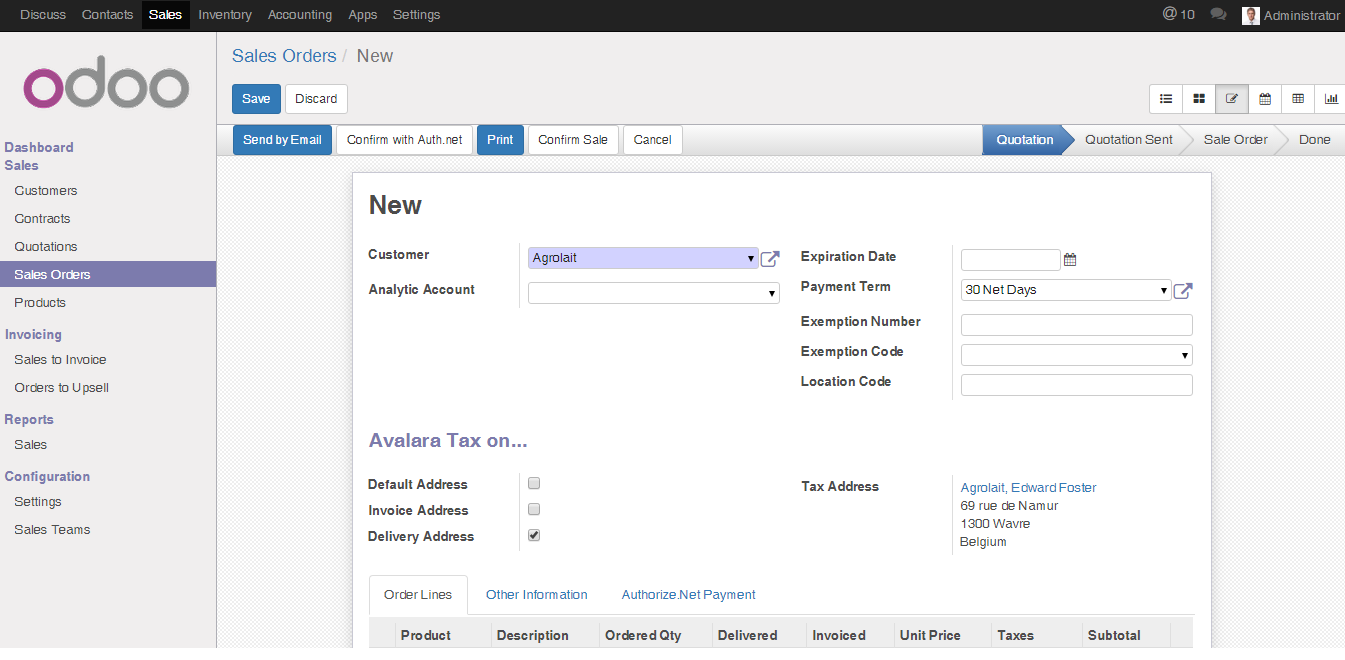
#3: To Use Authorize.Net in Sales Orders in Odoo
-
Click on Confirm with Auth.net.
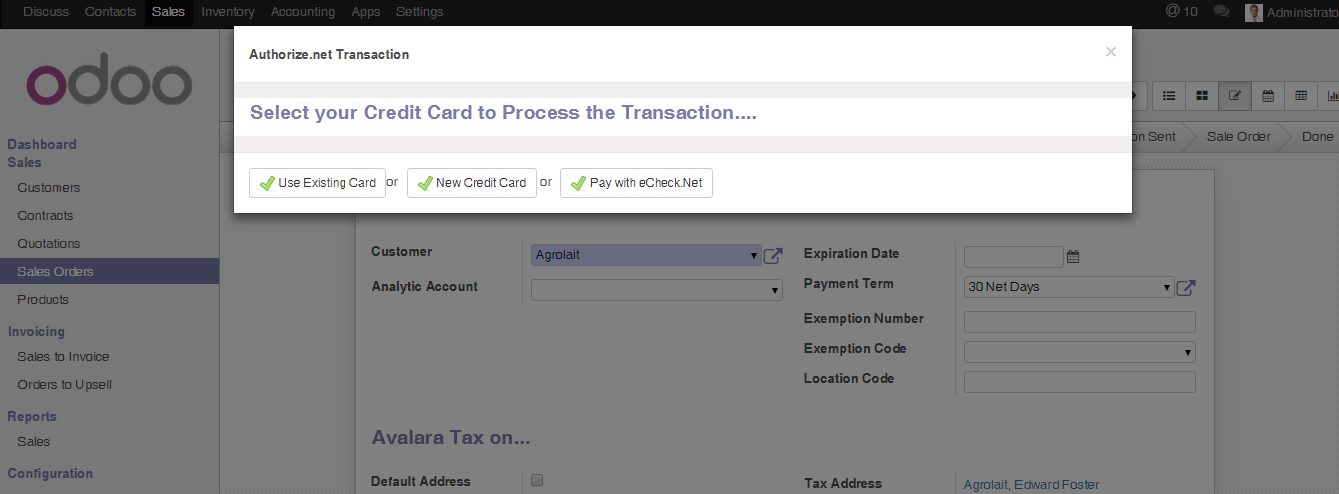
-
Click on Use Existing Card if you want to use the Card which you added in the Customer Profile, or Click on New Credit Card and enter all the necessary details (it is as same as Register Payment Profile in Customer).
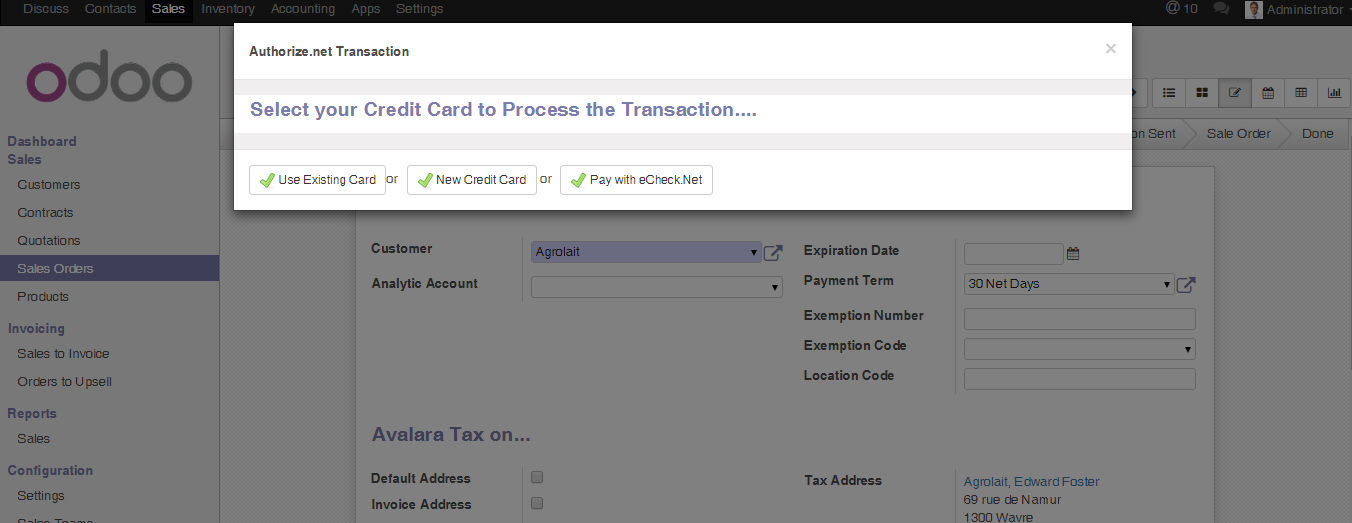
#4: To Use Authorize.Net in Sales Orders in Odoo
-
Select the Card.
-
Select the Transaction Type, There are 2 options for doing this
i) Authorize and Capture: – This Option will Authorize and capture the payment.
ii) Authorize Only:- This Option will only authorize the Payment we need to capture in the Invoice.
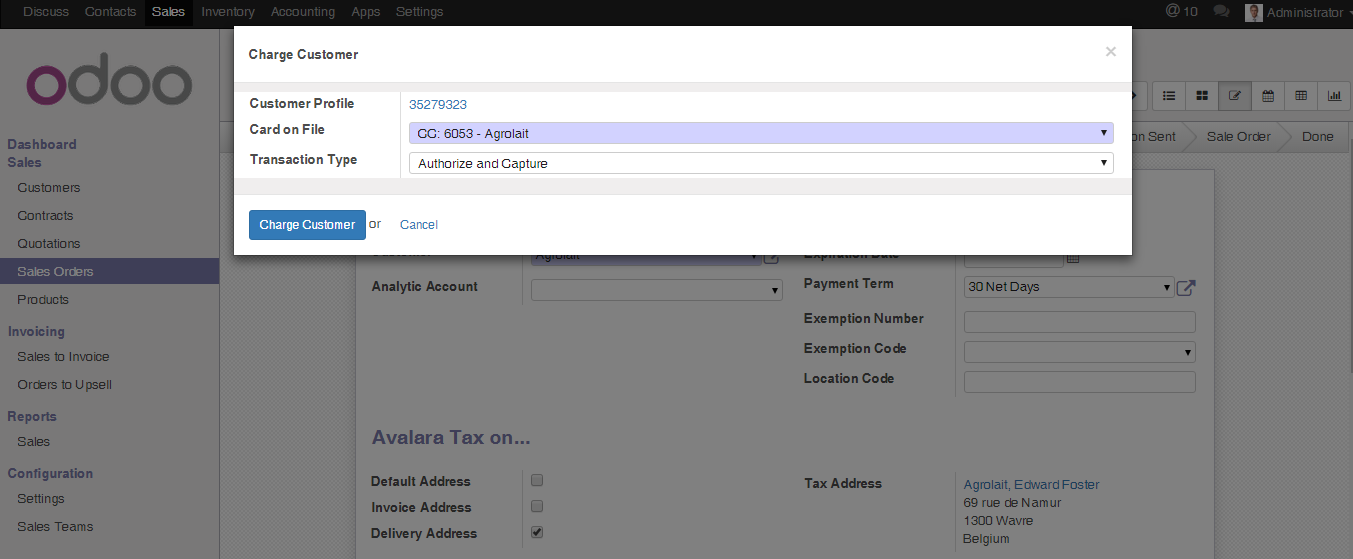
#5: To Use Authorize.Net in Sales Orders in Odoo
-
Now we are using the Authorize and Capture Option, the below images are based on this option.
-
Click on Charge Customer.
-
Now Click on Create Invoice. Select the option Invoiceable lines and Click on Create and View Invoices.
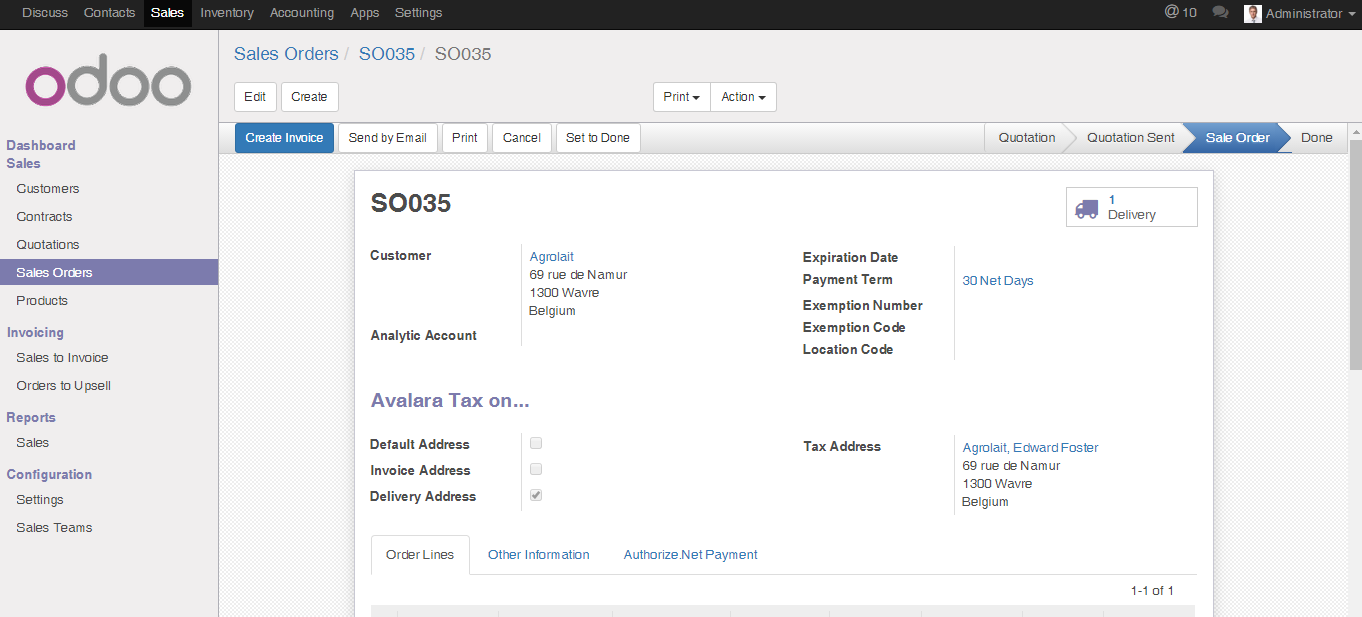
#6: To Use Authorize.Net in Sales Orders in Odoo
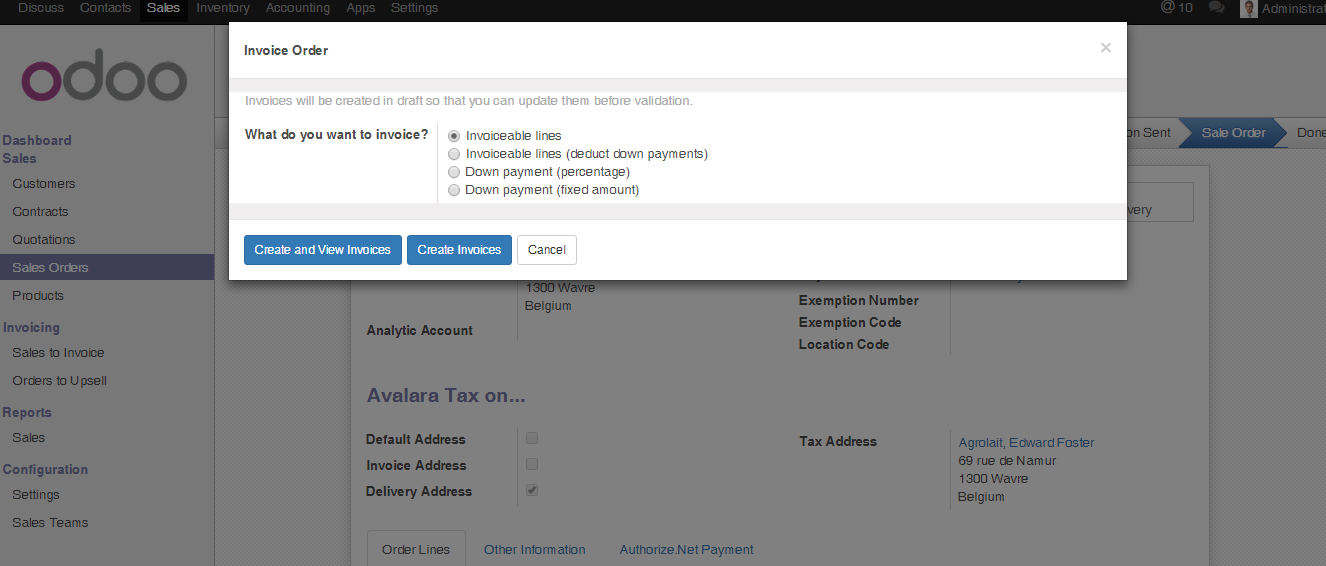
#7: To Use Authorize.Net in Sales Orders in Odoo
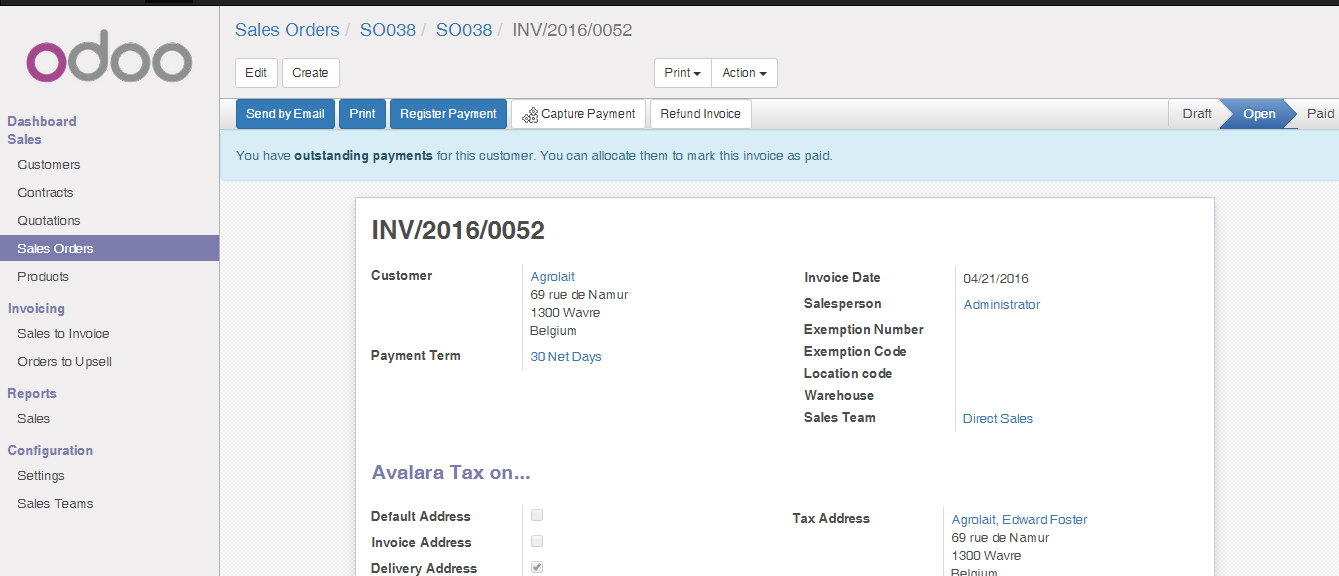
- Click on Validate.
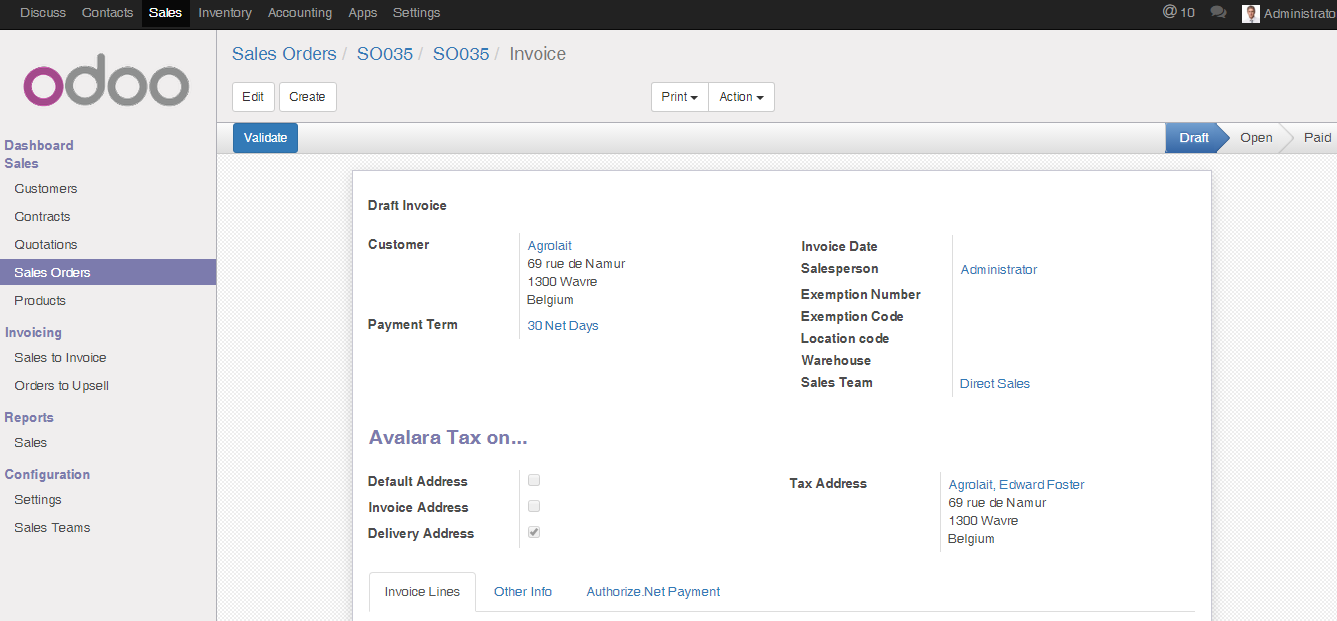
#8: To Use Authorize.Net in Sales Orders in Odoo
- To use the register the payment scroll down, we can see the Outstanding credits and we need to click on Add payment through Authorize.net.
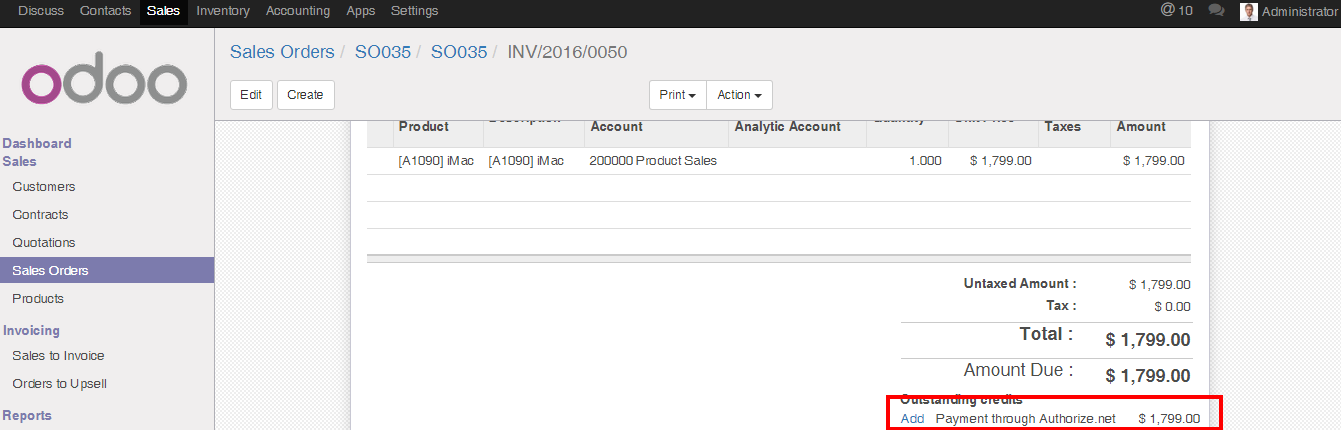
#9: To Use Authorize.Net in Sales Orders in Odoo
-
The invoice is Paid using Authorize.net and we can view the details in Authorize.net Payment Tab.
Alternately Using Capture Only Option in Odoo.
Here the process remains the same as explained above until point number 7
1. Now in the Transaction Type Select Authorize Only.

2. You can now follow the same steps and process as explained in point number 10,11 and 12.
3. Click on Capture Payment.
4. The Invoice is paid using Authorize.net.
Echeck.Net
What is eCheck.Net?
eCheck.Net is an Authorize.Net payment service
How to Use eCheck.Net?
-
Click on Sales Module.
-
under Sales Option-Click on Sales Order
-
Click on Create.
-
Enter all the necessary details like Customer name, Order Date, add the product, & etc.
-
Click on Confirm with Auth.net.
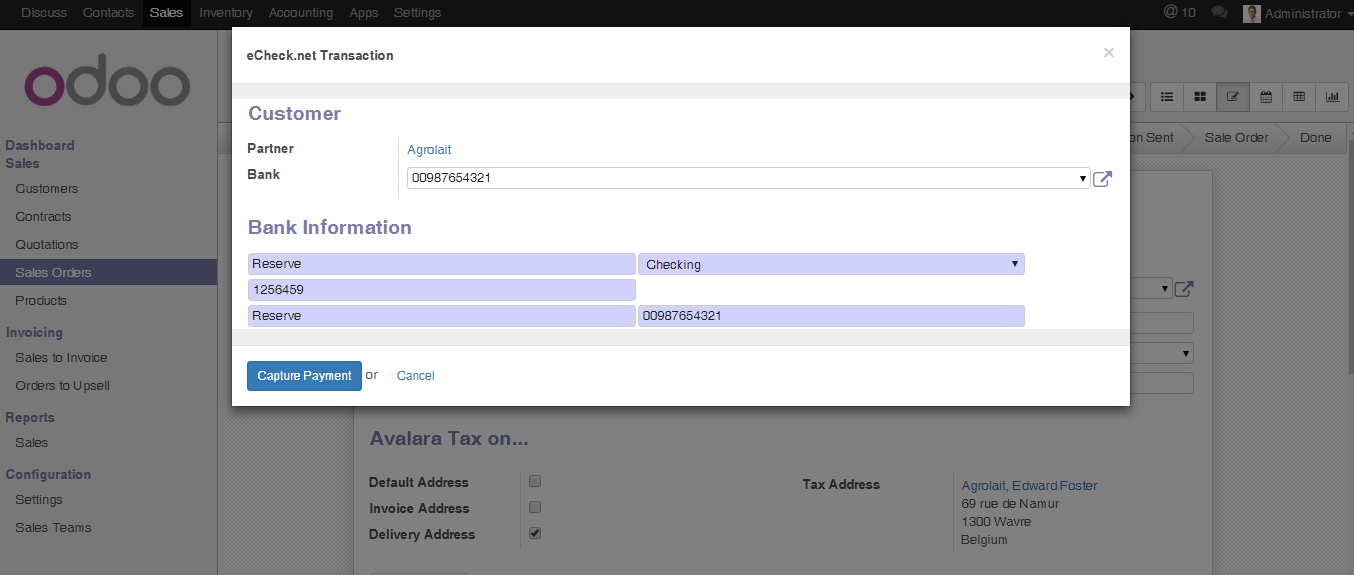
- Click on Pay with eCheck.Net.
- Select the Bank and Click on Capture Payment.
We Hope this Step by step tutorial on Odoo -Authorize.net User Guide helps you to drive your businesses better. Feel free to get in touch with us for more insights on Odoo and many other ERP solutions through sales@bistasolutions.com also write to us to tell us what you think about this blog at feedback@bistasolutions.com .


