Odoo AvaTax Module
Odoo provides integration with the AvaTax Calculation service, which includes sales tax calculation for all US states and territories and all Canadian provinces and territories (including GST, PST, and HST). The module is capable of automatically detecting origin (Output Warehouse) and destination (Client Address) then calculates and reports taxes to Avalara as well as recording the correct sales taxes for the validated addresses in your ERP.
This module utilizes core certified modules from Odoo as dependencies and will attempt to automatically (as Odoo modules typically do). The following dependencies will be installed: base, sale, account, account_accountant, and stock modules. This module also has demo configuration data to work with demo deployments as well. Once configured the module operates in the background and performs calculations and reports to the AvaTax server seamlessly. Avalara will give you access to the Avatax server dashboard when you call to get your test account or subscribe.
This guide includes instructions for the following elements:
- Activating your organization’s Ava Tax account and downloading the product
- Entering your AvaTax credentials into the Odoo system and Configure it to use the AvaTax Calc service Using AvaTax features within your ERP
Note:- Test the module before deploying in a live environment. All changes to AvaTax settings must be done by a user with administrative privileges.
Installation
- Download the AvaTax Module: https://apps.openerp.com/apps/modules/8.0/bista_avalara_salestax/
- Extract the downloaded file.
- Upload the extracted directory to your configured Odoo modules directory.
- Click the “Install” or “Upgarde” button.
- Restart Odoo
- Login as Administrator
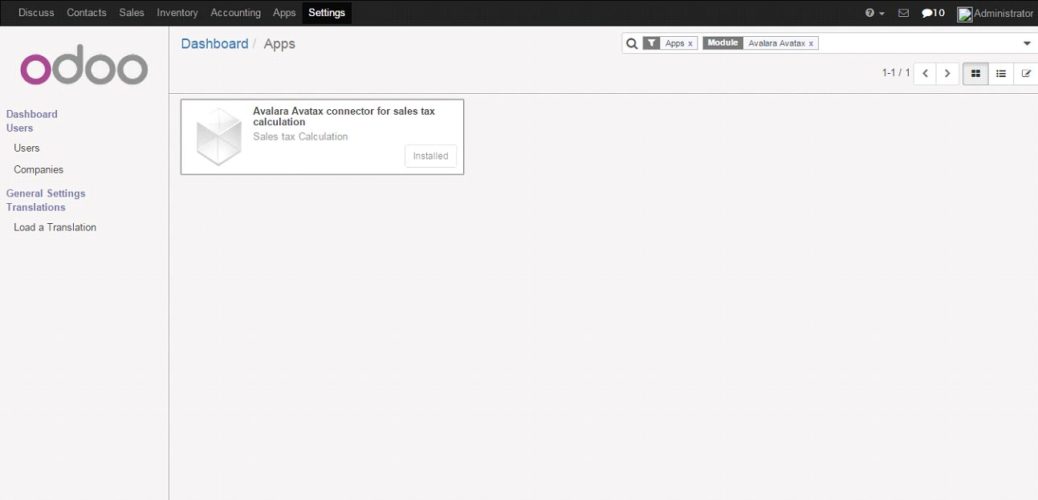
- Navigate to: Settings>>Installed Modules>>Search for AvaTax.
- Click the “Install” button
To Configure AvaTax API
- Navigate to: Accounting>>Configuration>>AvaTax>>AvaTax API
- Click the “Create” button.
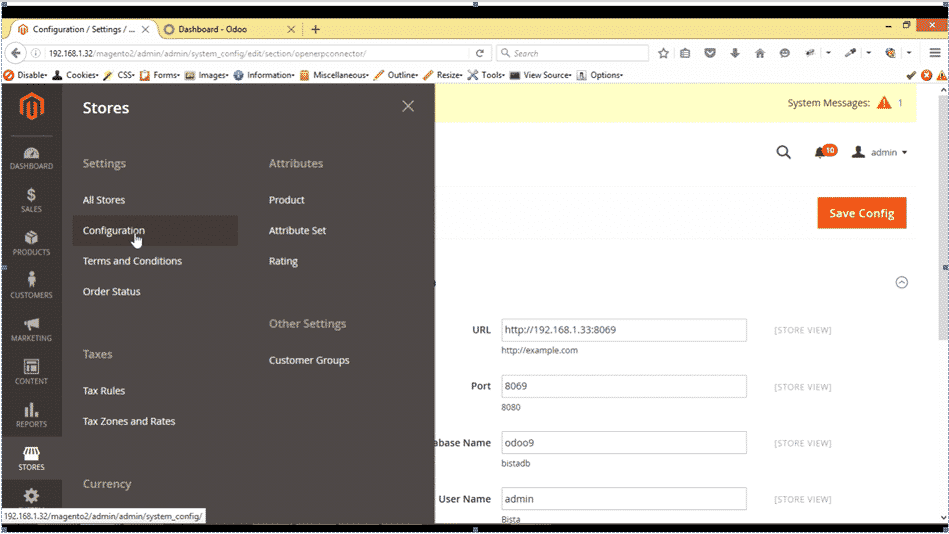
- Fill out the form with Company Code, Account Number and License Key provided to you by Avalara.
- Fill out the proper service URL provided to you by Avalara. (You may have two service URLs: One for the development/testing server and another for production transactions.)
- Click the “Test Connection” button
- Click the “Save” button.
You can further configure the module on this screen.
Other configuration options are:
Adapter
- Request Timeout- Default is 300ms.
- Enable Logging.
Address Validation
- Attempt automatic address validation- Will perform automatic validation when performing tax computation. The other validation options (below) are not required and will be deselected but available.
- Validate on save for customer profile – Automatically attempts to validate on the creation of customer profile update and creation. The last validation date will be visible and stored.
- Force Address validation on customer profile save – In the case validation for the customer is required but not valid, the validation will be forced.
- Return validation results in upper case – validation results will return in upper case form.
Avalara Submissions / Transactions
- Order-level – All items on order are calculated as one transaction.
- Line-level – Each line item in an order is calculated, displayed, and transacted separately.
- Enable UPC Taxability – This will transmit Odoo’s product ean13 number instead of its Internal Reference. If there is no ean13 then the Internal Reference will be sent automatically.
Countries
- Add or remove applicable countries. The calculator will not calculate for a Country unless it’s on the list
Disable
- Disable Avalara Tax Calculation and reporting (reporting to Avalara’s dashboard and tracking).
- Disable Avalara Tax reporting only.


Configure Exemption Codes
Exemption codes are allowed for users where they may apply, e.g., a Government entity.
Navigate to: Accounting >> Configuration >>AvaTax >>Exemption Code
The module is installed with sixteen (16) predefined exemption codes Add, remove and modify exemption codes

Product Tax Codes
Create product tax codes to assign to each product and/or product category.
Navigate to: Accounting >> Configuration >> AvaTax >> Product Tax Codes
Add, remove and modify product tax codes

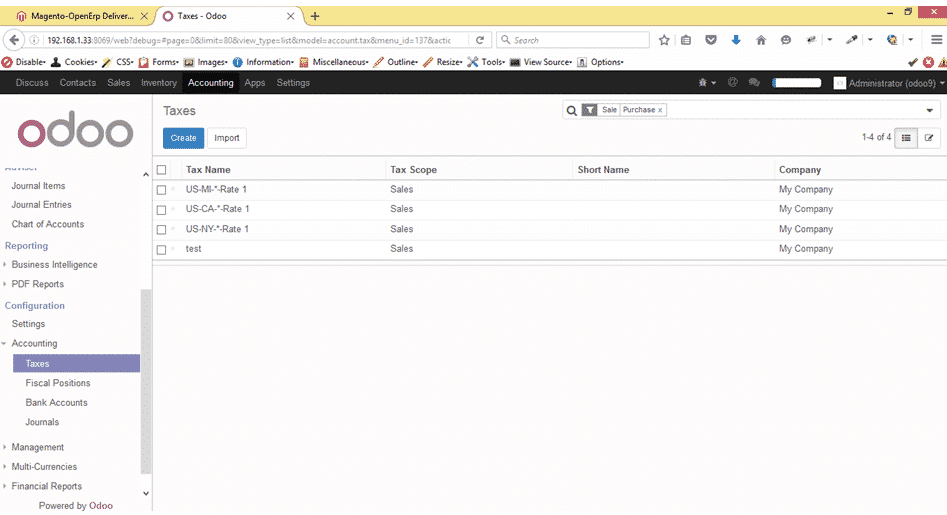
Configure Taxes
The AvaTax module is integrated into the Taxes of Odoo. “AVATAX” is automatically added as a type of Tax to be applied. You can configure how ‘” AvaTax” integrates into the Odoo system.
Configure AVATAX Tax Type
- Navigate to: Accounting >> Taxes
- Select AVATAX from the list view (automatically added on module install)

Click the “Edit” button

Configure the AVATAX Tax Type with the proper tax account configuration for your system. Click the “Save” button
* Upon initial install the settings will be blank. The above image shows an example configuration.
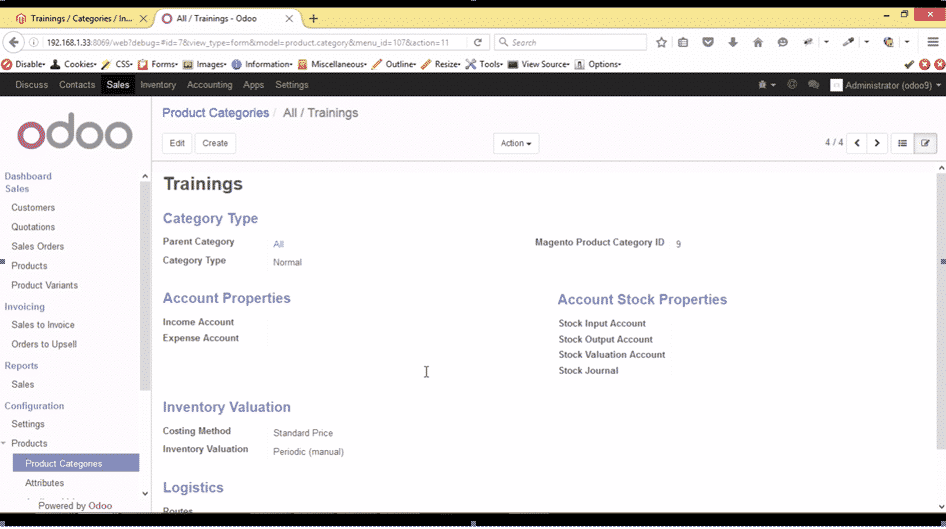
Product Category Configuration
The Odoo product is typically assigned to product categories. AvaTax settings can be assigned to the product category. The category default tax code will auto-populate when a product category is created.
Create New Product Category
- Navigate to: Inventory >> Configuration >> Products >> Product Categories.

Configure Product Category Tax Code
- Under AvaTax Properties >> Tax Code, Select the desired Tax Code.

Click “Save” button
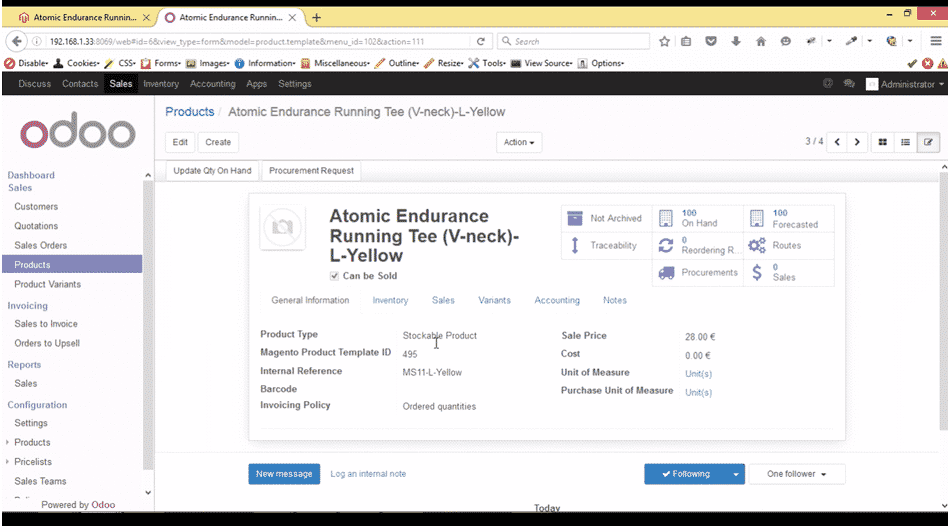
Product Configuration
Individual products default to the tax code assigned to its product category, however you can change the tax codes if necessary. Tax calculations for a specific product can be disabled and will default to the product tax settings for the product category it belongs to.
Create New Product
- Navigate to: Sales >> Products >> Products

Configure Product Tax Code
- Under Category, select a Product Category
- Under AvaTax Properties, the Tax Calculation check box is checked by default If you wish to change the Tax Code defined by the Product Category, do so under
- AvaTax Properties > Tax Code

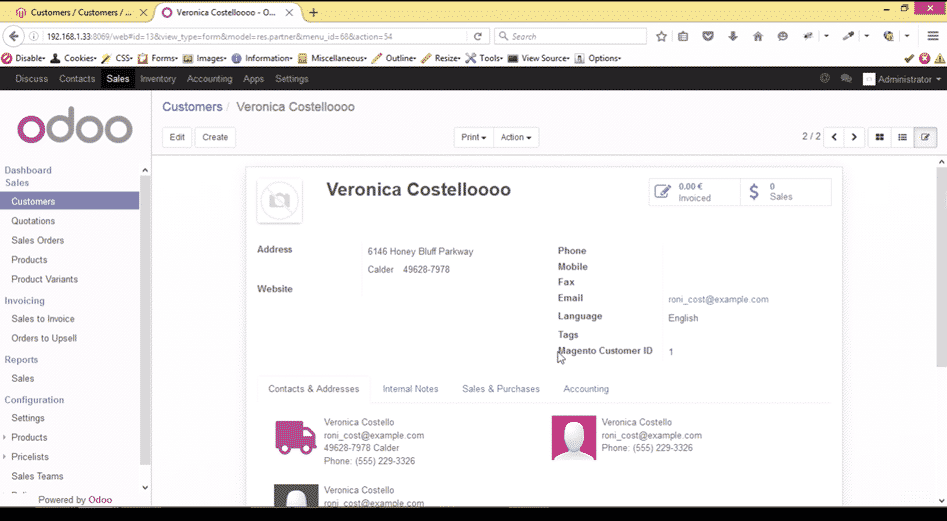
Customer Configuration
Properly configuring each customer ensures the correct tax is calculated and applied for all transactions

Create New Customer
- Navigate to: Sales >> Customers.
Customer Configuration
Properly configuring each customer ensures the correct tax is calculated and applied for all transactions

Configure Customer Address
- Enter Customer Address Select the AvaTax tab
Address Validation
AvaTax Module will attempt to match the address you entered with a valid address in its database. Click the “Accept” button if the address is valid

Tax Exemption Status
If the customer is Tax Exempt, uncheck the box Under Tax Exemption >>Is Tax Exempt Select the desired Tax Exempt Code from the drop-down menu
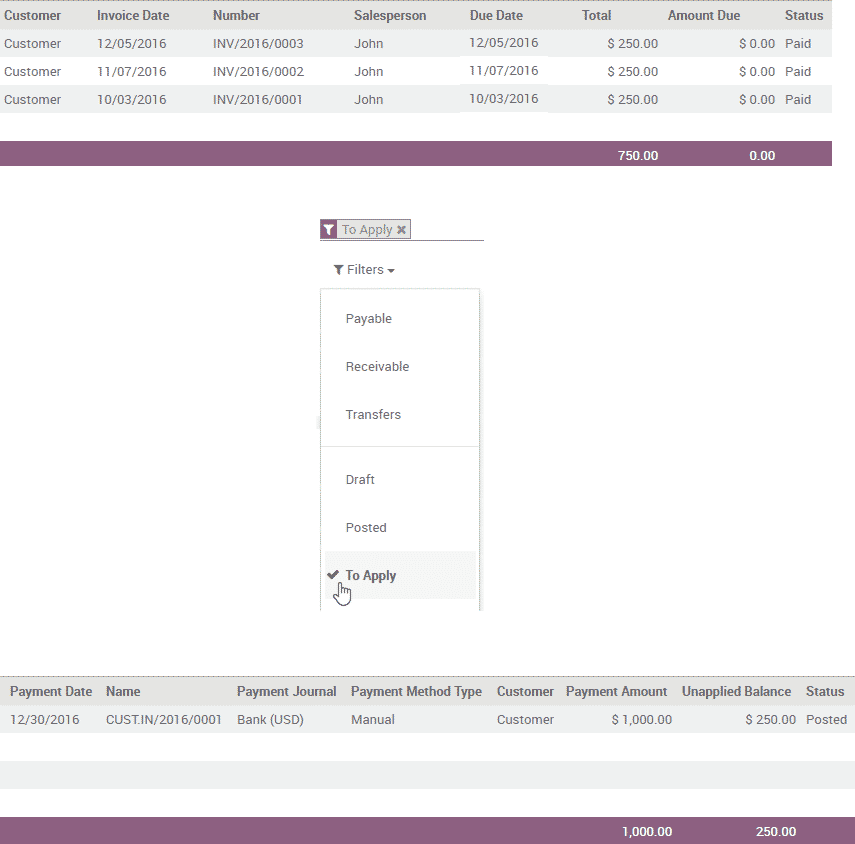
Customer Invoices
The AvaTax module is integrated into Customer Invoices and is applied to each transaction. The Transaction log in the Avatax dashboard shows the invoice details and displays whether the transaction is an uncommitted or committed status. A validated invoice will show an “Uncommitted” and a paid Invoice will show a “Committed” status.
The module will check if there is a selected warehouse and will automatically determine the address of the warehouse and determine the origin location. If no address is assigned to the warehouse the module will automatically use the address of the company as its origin.
Discounts are handled when they are enabled in Odoo settings. They will be reported as a net deduction on the line item cost.
Create New Customer Invoice
- Navigate to: Accounting > Customers > Customer Invoices
Compute Taxes with AvaTax
Fill out the customer invoice as normal for Odoo You will note that under Taxes you should

Validate Invoice
After the taxes have been computed click “Validate” button
Register Payment
To complete the invoice click “Register Payment” button

Complete the Pay Invoice window
Click the “Validate” button to finalize the Customer Invoice


Customer Refunds
Odoo applies refunds as opposed to voids in its accounting module. As with customer Invoices, the AvaTax module is integrated into Customer Refunds and is applied to each transaction.
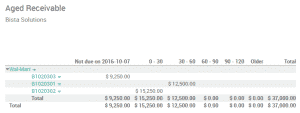
Refund Invoice transactions will be indicated with a negative total in the AvaTax interface.
Initiate Customer Refund
- Navigate to: Accounting >> Customers >> Customer Invoices
- Select the invoice you wish to refund
- Click “Refund Invoice” button
Create Refund Invoice
Under Refund Method select “Create a draft refund” from the dropdown Click “Create Refund” button

You will be taken to the Customer Refunds list view

Validate Refund
Select the Customer Refund you wish to refund Review the Draft Refund and click “Validate” button

Register Refund Payment
Click “Register Payment” button to complete refund

Complete the Pay Refund window
Click “Validate” button to finalize the Customer Refund

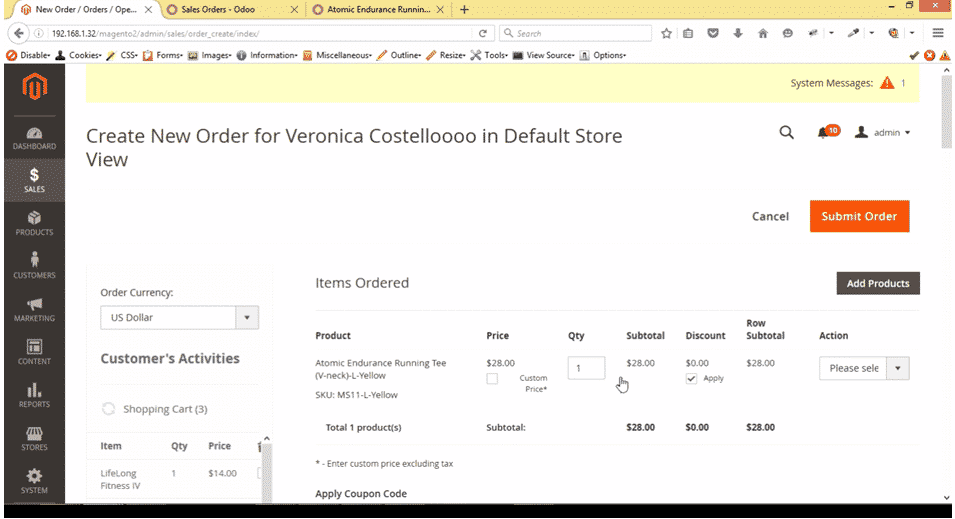
Sales Orders
The AvaTax module is integrated into Sales Orders and allows the computation of taxes. Sales
Order transactions do not appear in the AvaTax interface.
The module will check if there is a selected warehouse and will automatically determine the address of the warehouse and determine the origin location. If no address is assigned to the warehouse the module will automatically use the address of the company as its origin.
The information placed in the sales order will automatically pass this information to the Invoice where the report of the tax calculation is to the Avalara servers and can be viewed in the AvaTax control panel.
Discounts are handled when they are enabled in Odoo settings. They will be reported as a net deduction on the line item cost.
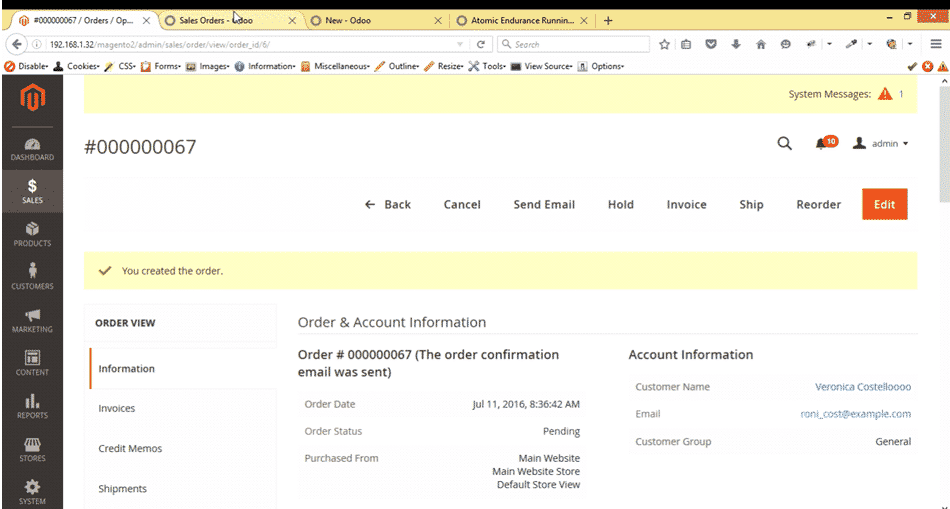
Create New Sales Order
Navigate to: Sales > Sales > Sales Orders
Click “Create” button

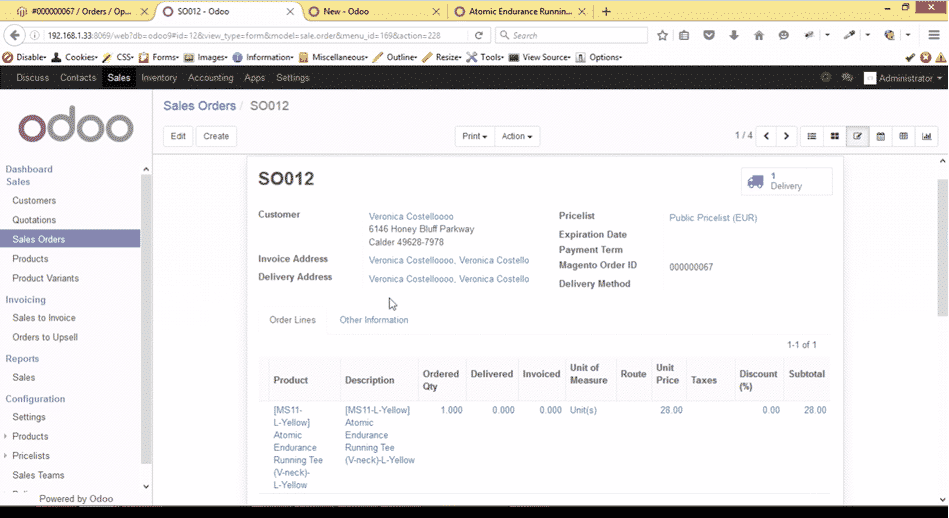
Compute Taxes with AvaTax
The module will be calculated when the sales order is confirmed. At this step, the sales order will only retrieve the tax amount from Avalara but will not report the transaction to the AvaTax dashboard. Only Invoice, Refund, and pay activity are reported to the dashboard.
The module will check if there is a selected warehouse and will automatically determine the address of the warehouse and determine the origin location. If no address is assigned to the warehouse the module will automatically use the address of the company as its origin. The location code will automatically populate with the warehouse code but can be modified.
If you are looking for Odoo AvaTax integration contact us or email us at sales@bistasolutions.com.


